Smart Baby Bottle Organization: A Complete Guide to Keeping Bottles, Lids, and Feeding Gear Tidy
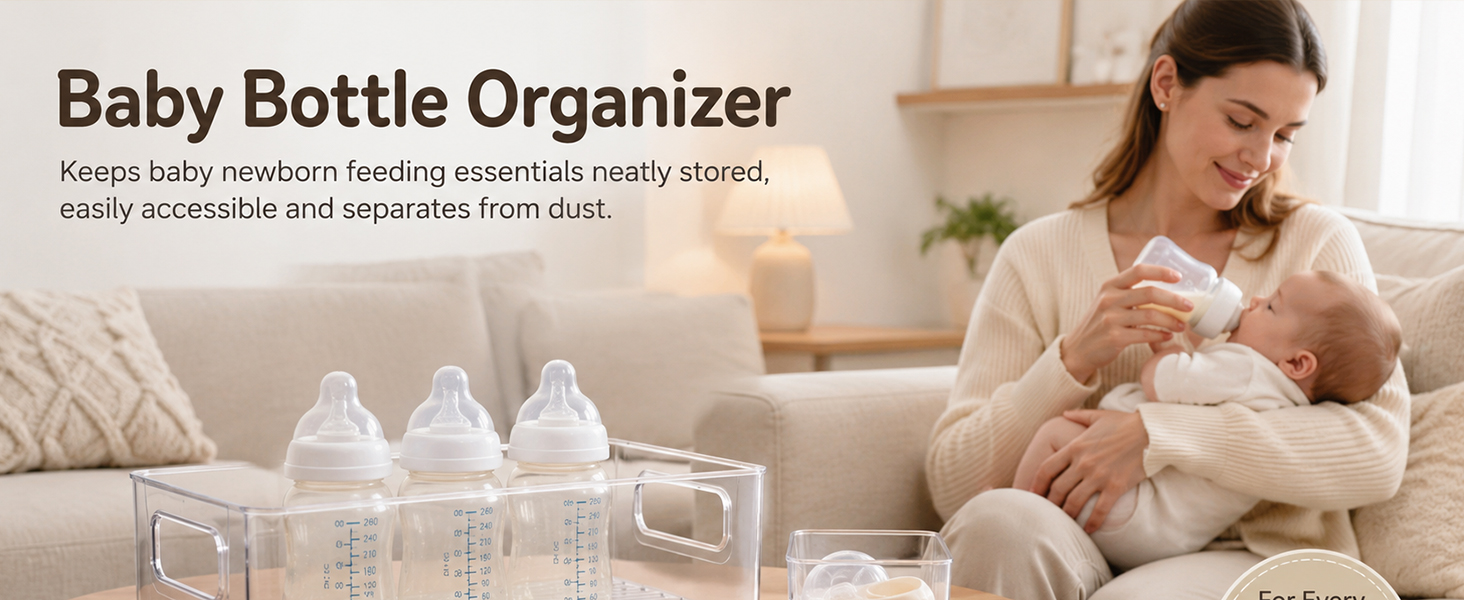
If you have ever searched for a clean bottle while your baby is crying, you already know that baby bottle organization is not a luxury—it is a daily survival skill. Between bottles, nipples, caps, rings, breast pump parts, and formula or milk storage containers, feeding gear can take over the kitchen faster than you expect. A thoughtful baby bottle storage system helps you find what you need quickly, keep clean and dirty items separate, and make the most of limited counter and cabinet space. With the right baby products and a little planning, bottle chaos can become a calm, repeatable routine.
Why Baby Bottle Storage Deserves a Real System
New parents often start with a few bottles tucked into a cabinet. Then the collection grows: different nipple flows, travel caps, insulated sleeves, and pump adapters. Without a dedicated organizer, small pieces disappear into drawers and clean bottles get mixed with used ones. A proper storage system does more than look tidy. It supports feeding safety, reduces morning stress, and helps caregivers—grandparents, babysitters, and partners—use the same system without asking where everything belongs.
Good organization also makes cleaning easier. When bottles and parts have a clear “home,” you can move them from wash basin to drying rack to storage without creating a pile on the counter. That simple flow matters when you are washing bottles several times a day.
Choose the Right Baby Bottle Organizer for Your Space
The best baby bottle organizer depends on your kitchen layout, the number of bottles you use, and whether you prefer countertop access or closed cabinet storage. Here are common options and what they do best:
- Countertop bottle racks: Great for frequently used bottles and drying space; keep them near the sink or prep area.
- Drawer dividers and bins: Ideal for keeping nipples, rings, and caps separated in a shallow drawer.
- Cabinet organizers with compartments: Useful for family kitchens that need to hide clutter behind closed doors.
- Rotating organizers: Helpful on crowded counters because they use vertical space and allow quick access.
- Travel bottle cases: Essential for diaper bags, daycare drop-offs, and overnight trips.
| Organizer Type | Best For | Key Benefit |
|---|---|---|
| Countertop drying rack | Daily bottle rotation | Quick drying and easy access |
| Drawer bin set | Small parts storage | Keeps nipples and caps matched |
| Cabinet compartment box | Hidden storage | Reduces visual clutter |
| Travel case | Daycare and outings | Portable and protected |
Set Up a Bottle Station That Works at 2 A.M.
A good bottle station should be simple enough to use half-asleep. Keep the most-used items within arm’s reach and store backup supplies higher or farther away. Use a clear “clean” zone and a separate “needs washing” zone so no one has to guess. If your baby uses formula, keep a small scoop station or pre-measured containers nearby, but always follow safe formula preparation guidelines.
- Place clean bottles upside down on a drying rack or in a clean bin.
- Group nipples by flow rate in small labeled containers.
- Keep caps, rings, and travel covers together in one drawer divider.
- Set aside a small basin or bin for dirty bottles until wash time.
- Restock the station every evening so the morning routine starts ready.
Parenting tip: Label the front of bins with simple words or icons. Caregivers can follow the system even if they are not familiar with your kitchen.
Baby Bottle Storage for Travel and Daycare
Travel storage needs to be compact, leak-resistant, and easy to clean. Use a dedicated cooler bag or insulated pouch for milk and a separate case for empty bottles. If you send bottles to daycare, label each bottle clearly and pack clean parts in a sealed bag. Avoid storing clean and used bottles together, even for a short trip. A small wet bag for dirty parts can keep the rest of your diaper bag dry and sanitary.
- Use a rigid travel case to prevent bottles from being crushed.
- Pack nipples and caps in a small mesh pouch so they do not get lost.
- Keep a spare clean bottle and nipple in the car or diaper bag.
- Choose organizers with smooth, wipeable surfaces for easy cleaning.
Keep It Clean: Maintenance and Safety
Even the best baby bottle organizer needs regular cleaning. Crumbs, milk residue, and dust can collect in corners and dividers. Wipe countertop racks weekly, wash drawer bins with warm soapy water, and check for mold or trapped moisture. Make sure bottles are completely dry before storing them in closed containers. Follow the manufacturer’s instructions for sterilizing bottles, nipples, and pump parts, and replace worn nipples according to your pediatrician’s guidance or product recommendations.
Safety matters, too. Keep small caps and rings out of reach of toddlers, and avoid stacking heavy organizers where they could fall. If you use a wall-mounted rack, follow the installation instructions carefully. Baby products should make life easier, not create new hazards.
Make Baby Products Work Together
Your bottle organizer should fit into a larger feeding and baby products routine. Pair it with a drying rack, bottle brush, travel cooler, and a simple labeling system. Choose bottles that match your preferred storage method, especially if you pump and store milk. When every item has a role and a place, you spend less time searching and more time focused on your baby. A calm feeding area also makes nighttime feeds feel less overwhelming.
Final Thoughts
Baby bottle organization is a small investment that pays back every single day. Start with one clear system: clean bottles in one zone, dirty bottles in another, and small parts grouped by type. Choose a baby bottle organizer that fits your space, keep it clean, and adjust as your baby’s feeding needs change. With a little structure, baby bottle storage becomes one less thing to worry about—and that leaves more energy for the moments that matter.